Translate

Showing posts with label English Mountfield. Show all posts

Saturday, June 7, 2025

Hello! Long time no see!

 Hi all. It has been a very long time between posts. I have been mini-ing a little (the odd mini basket, mini knitting, painting, painting 3d printed items) but I have made very little progress on my houses. I spent last weekend at a weekend away with my state mini enthusiasts organisation and it got me a little inspired. I painted the shelves in my doll shop so they're ready to restock. I also pulled out my Mountfield to work on the kitchen I had pulled apart.

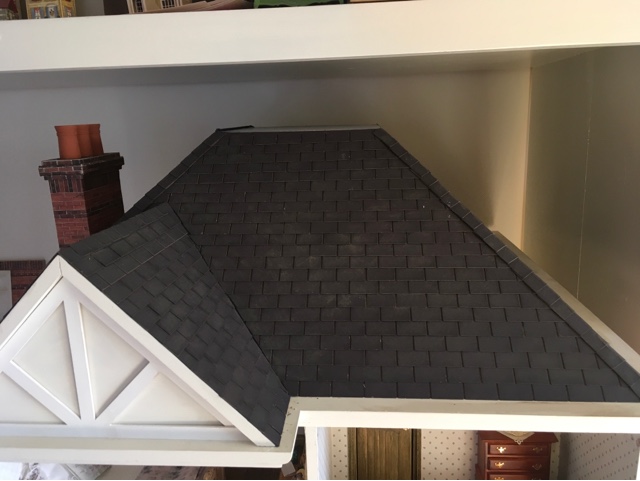
Yesterday was a disaster. I had none of the things I needed, so ordered all the things and left it at that. Today, I opened the roof and found some of the things I needed - spare windows, skirting (painted and ready to go) and a spare sheet of wallpaper to replace a piece in the hallway that got ruined. I was so relieved and horrified at how dumb/genius I was to store it all in the roof.

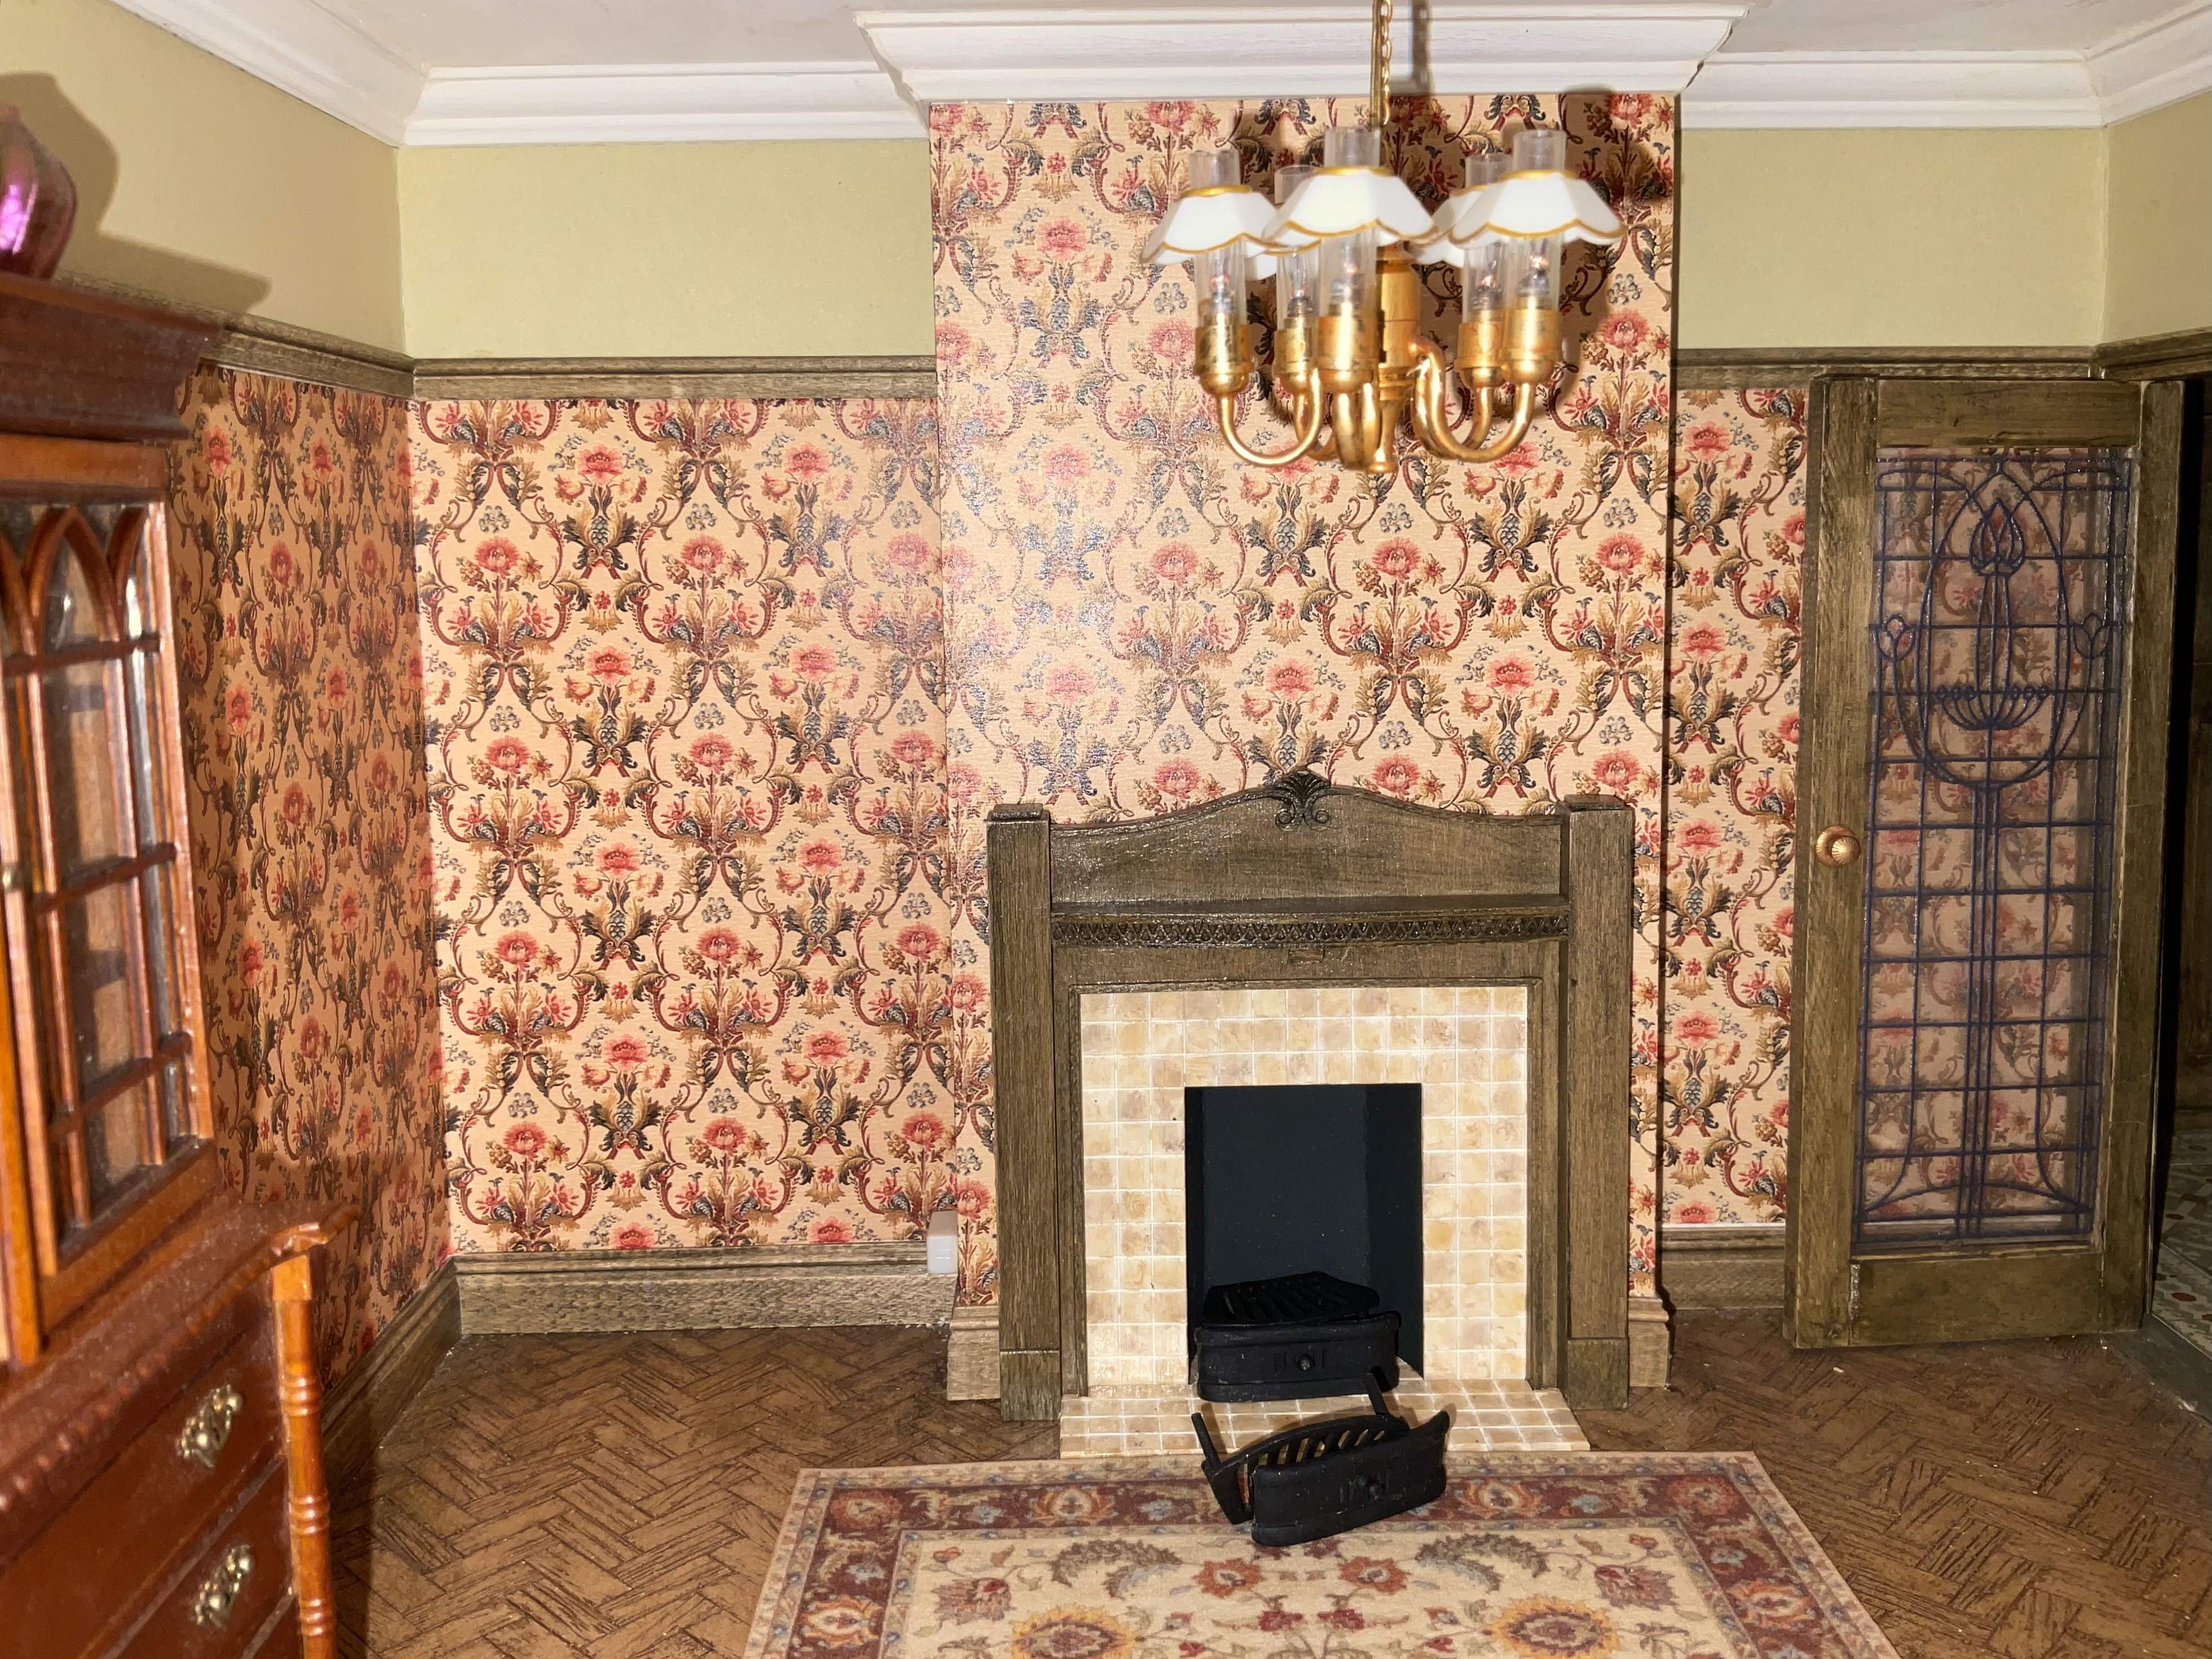
Anyway, I finished up trimming the skirting in the lounge room and dining room beside the new fireplaces I made. Now I just need to make a new back for the dining room fireplace and finish painting the fire inserts.


I had already made the pantry for the kitchen, so I glued the door I had to the pantry shelves, cut a wall piece to fill in the opening in the back wall of the kitchen, then glued both in.


In that last photo, you can see my pieces of tile sheet that will be glued in. I am leaving those off for now as I am getting my husband to help me cut a window opening on the right wall tomorrow. Also I need the floor tiles I ordered to patch into the floor first. 

I've always felt the kitchen needed a window. I also want a window in the left wall of the front bedroom. I am debating putting one in the left wall of the lounge room too, but not sure it will fit with the dresser there. I will have a think between now and tomorrow. I have an idea to put a room in the attic, and therefore a dormer window, so for now I wanted to hang onto a spare window for that (although it's likely too big for that). Maybe the window in the lounge room could be a round one. 

Thanks for reading this far! Hope you are all well. 

Tuesday, June 23, 2020

Mountfield wallpaper updates

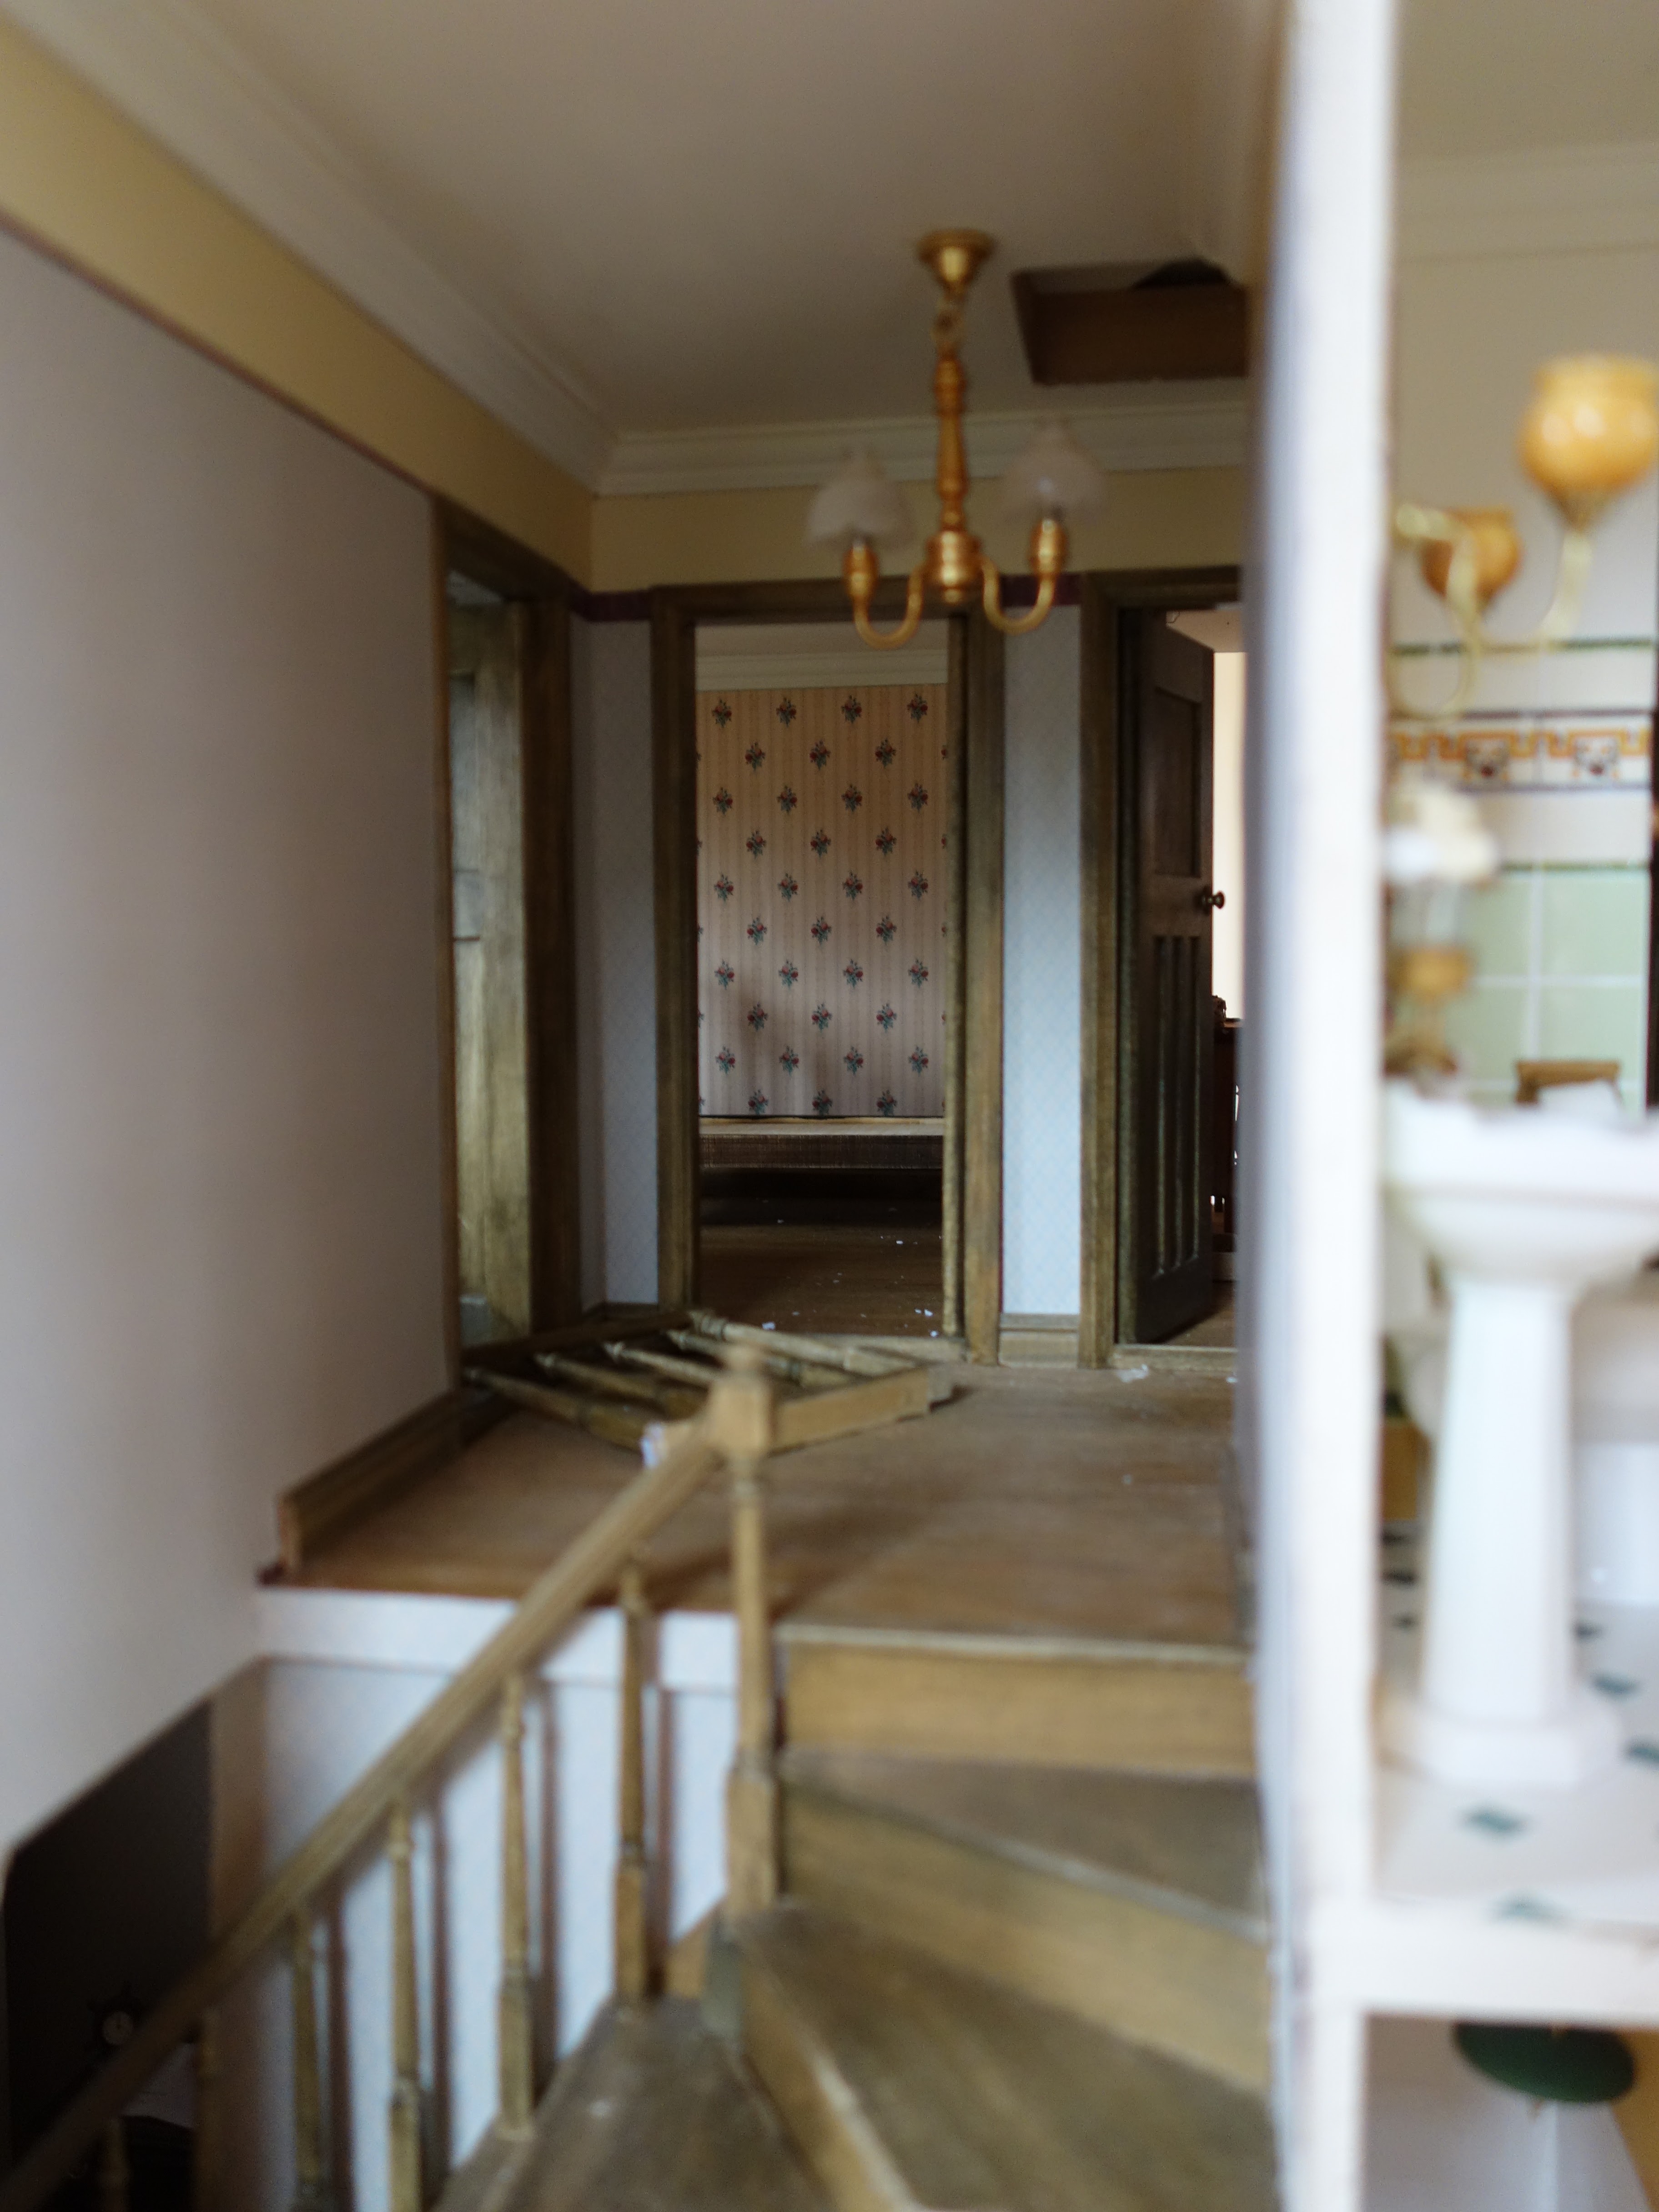
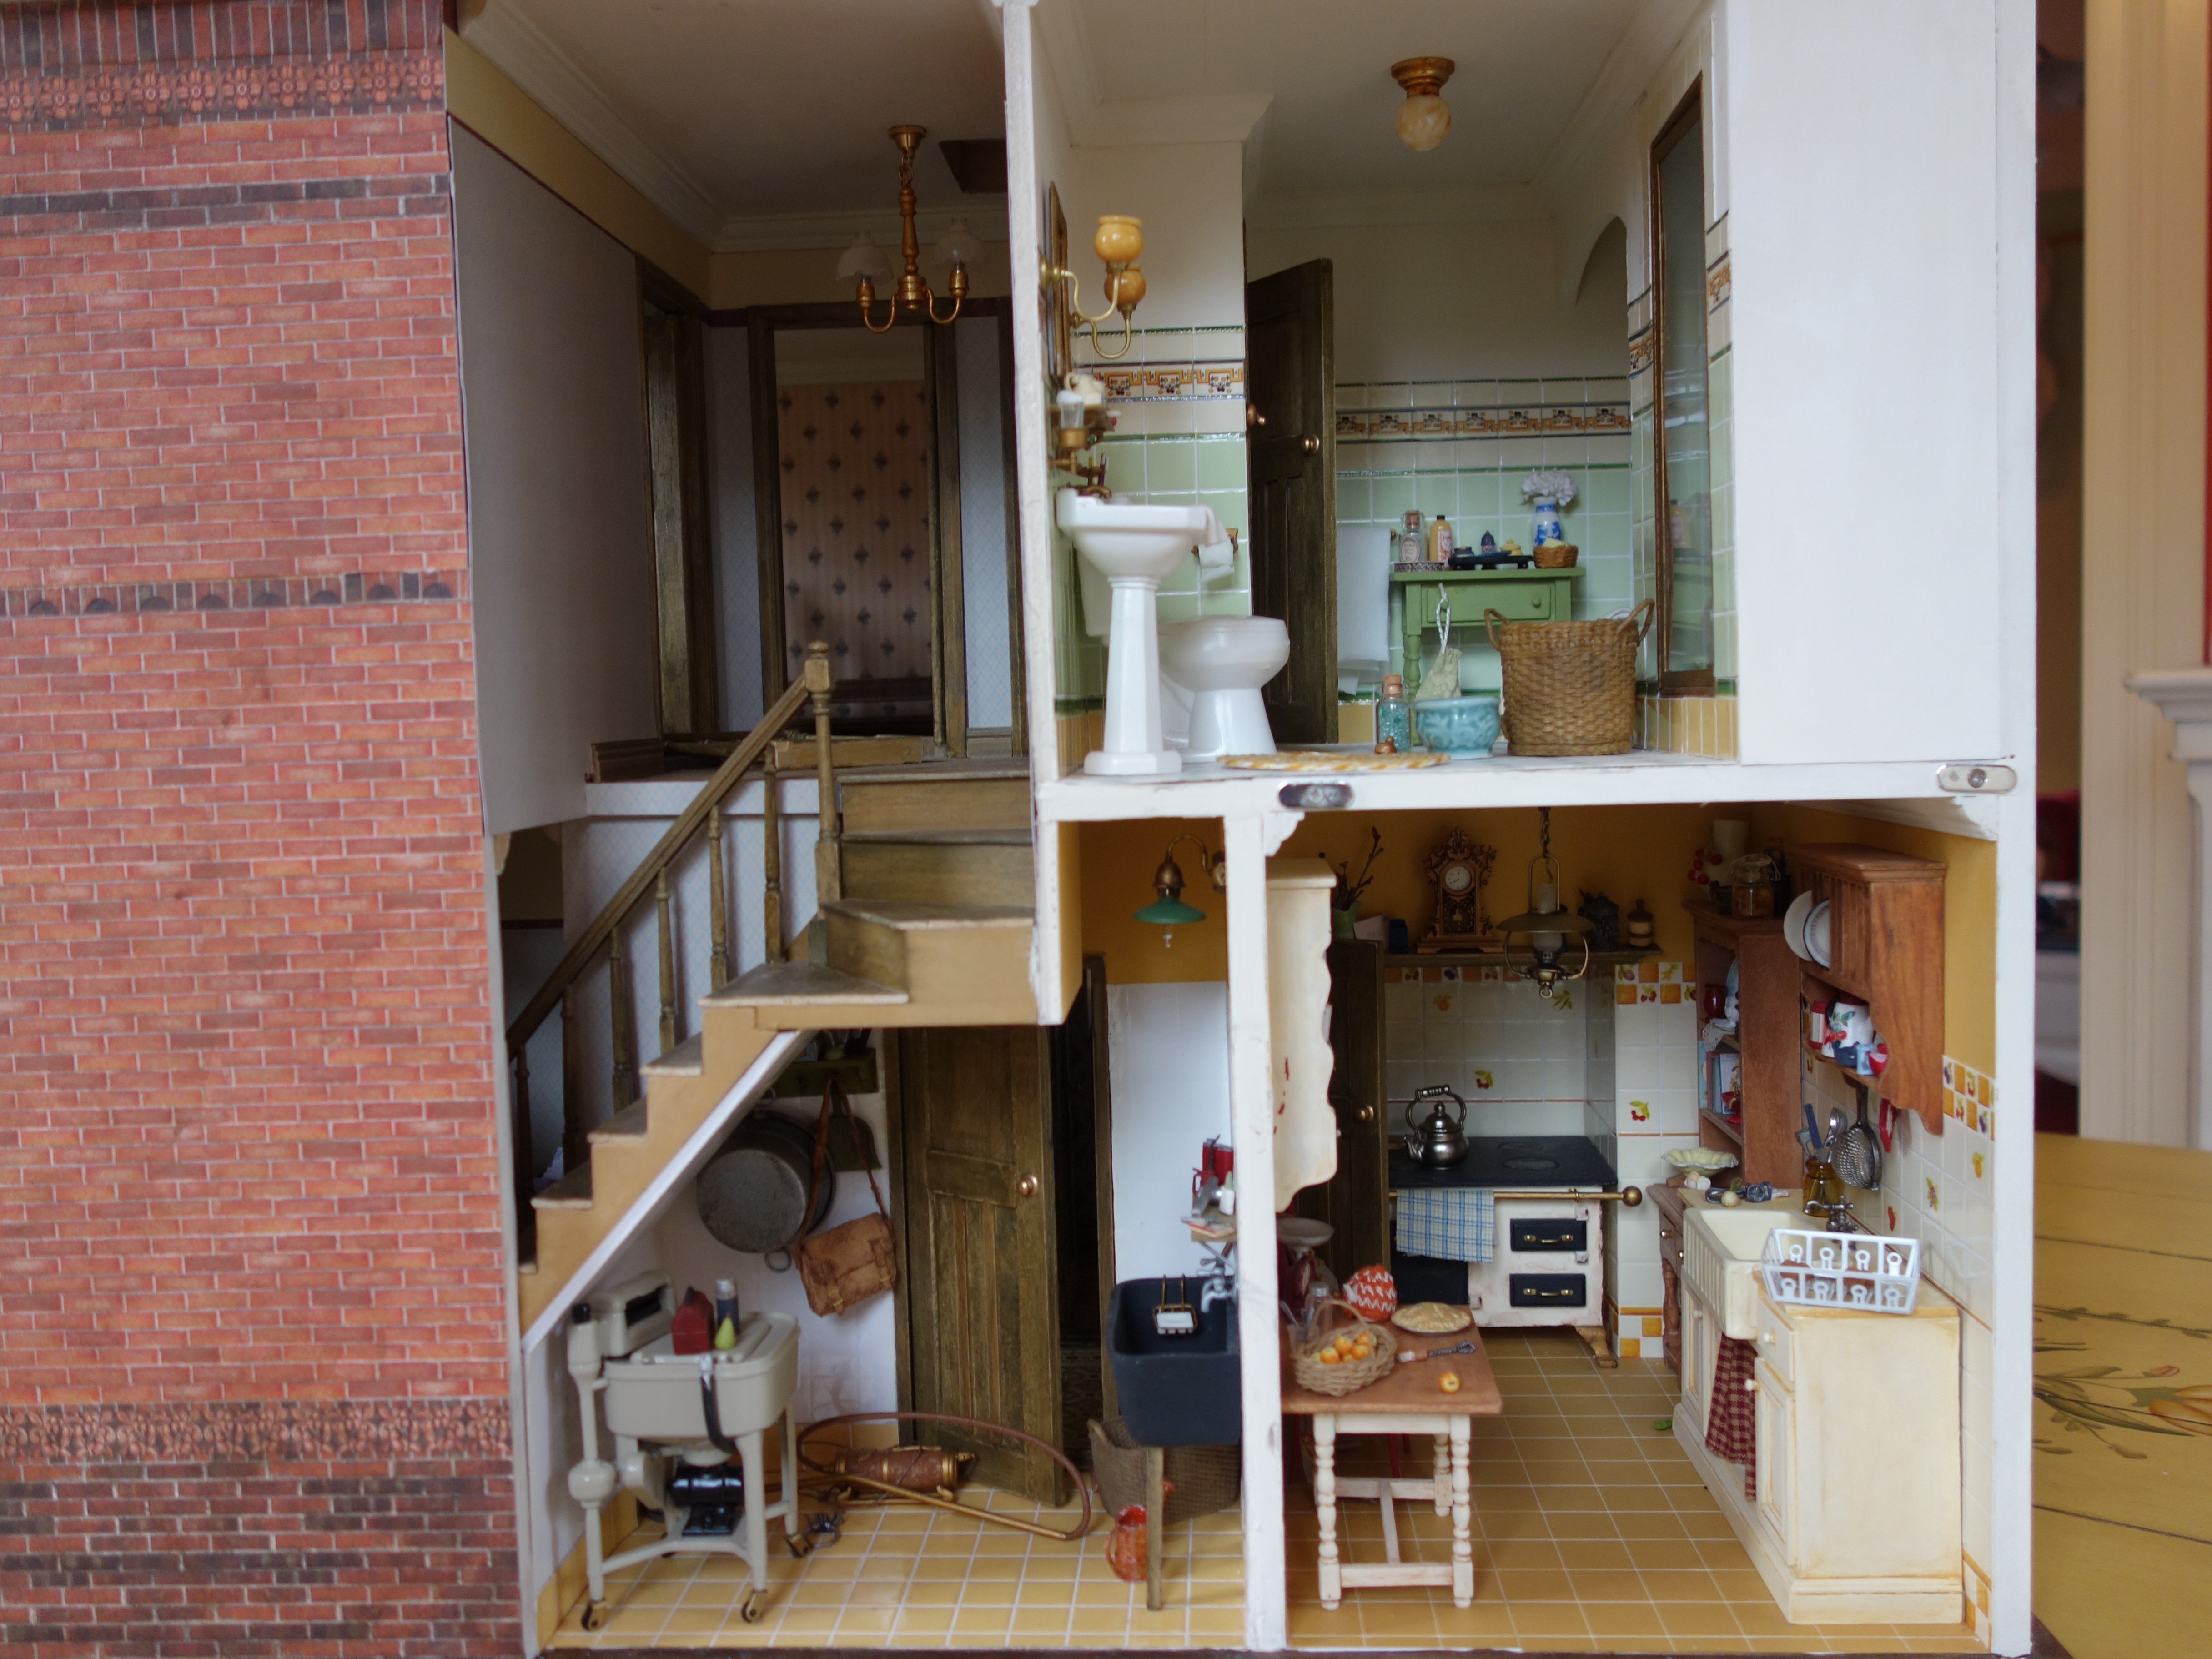
Hello all! Wanting to just post a quick update on my Mountfield. Have I banged on before how some of this house I love and some of this house just isn't working for me?? I don't recall, but I really love The Infill's 1930s house (plus all their other stuff!!!). So I bit the bullet and repapered the front bedroom, the living room and entry/hall. At first I glued the paper on top of the existing paper and quickly decided that was too risky, so went with double sided tape. That made life much easier and would highly recommend it. I learnt a few things, and it is by no means perfect but I am OK with that. Nothing furniture won't fix. Now I need to decide on fireplaces, although I have purchased the Phoenix metal fire grate things. So, some photos for you! (FYI it appears I can't reorder my photos on the new blogger, so I apologise for the disorder....)

The hall upstairs:

And overall view of the right side:

The front bedroom: (the colours on the nightshade no longer match...)

The living room (with the cabinet covering up a dodgy wallpaper job):

The entry (and the paper got a bit smushed up as I had to squeeze it in between the stairs and wall and I cut it too small..... sigh):

And entry again:

Which brings me to having to stain and varnish some picture rail to match the other wood. I have the stain still, but no idea what varnish I used. What could possibly go wrong??? 

But on the upside, I am pretty happy now. I LOVE the bedroom and hall, an pretty happy with the living room. And this is the original paper I chose for there. Silly me.

Anyway, take care all. I hope you are well and that those in the northern hemisphere are enjoying some sunshine. We are enjoying a tiny bit of rain although still not nearly enough. Talk soon!!

Saturday, June 17, 2017

I'm feeling a bit spoilt plus Mountfield progress

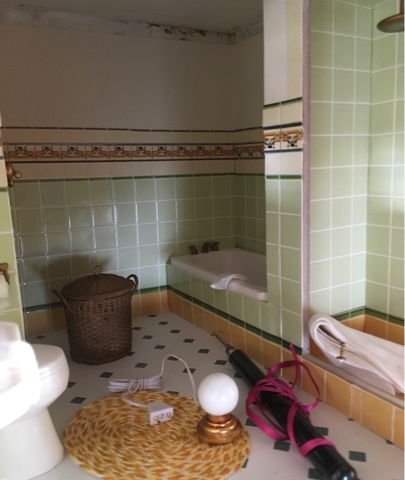
Hello all. It has been quite a nice sunny (but cool) day and one of the few days I've been able to take the time to work on my minis for a couple of months. I took the opportunity to get a few things done and take some photos. I really want to get my Mountfield off to its new home so I finished off a good bit of the bathroom. All that needs doing is 1) gluing the toothbrush holder to the wall (which broke so I superglued the parts together) and 2) making the shower screen door. I want to add a robe to the back of the door one day, but other than that, it's done! No light going into the bath enclosure as I couldn't get a drill to angle into the space. And I probably should paint the ceiling light shade to match the wall lights. Here are photos:


When this gets to its new home, I will take better photos so you can see the details. 

And I need to finish the roof but am a bit stumped on that. You can see I gave it a flat roof, which I will paint to sort of match the roof tiles, but I don't know how to finish off the top edges where the tiles meet the flat bit. Would you put straight strips of flashing/lead? I was going to stick on overlapped tiles, like the corners, but not sure about that. Any hints would be greatly appreciated.


And now, the reason I feel spoilt is my sister and mum went to Kensington Dollshouse Fair last month and came home with many amazing things. Too many I think! I took some quick photos so you can see:

Cute little Veronique Lux toys! I wanted one of her monkeys as our little girl had a toy monkey, which now sits on our bed, and I just wanted one in mini too.

Plus a birdcage! The additional bird and Francine Coyon fishing creel were gifts from my sister.


A Jane Harrop 1:24 bathroom. It looks adorable.


Beautiful Glasscraft cranberry glass:


Alison Davies chairs (there is an additional one I didn't photograph) and sofa:


Kitchen utensils from the Little Dollhouse Company: (that bottle brush is my favourite!!)

And these Robert Dawson Modelroom dormer windows (there are four). Tossing up using these for my chateau, but more likely they will go on my future scratch built Beacon Hill (I actually purchased these and just got mum and sister to collect them). I would need an additional one of I used them for my chateau.

Did you all get some mini work done? I hope you found the time and inclination. Starting is the hardest part isn't it?? Enjoy the rest of your weekend. Xxx

Saturday, May 27, 2017

More Mountfield changes!

Hello all on a bleary cold Victorian autumn day. Thought I'd show an update photo of the arch installed in the Mountfield bathroom, although it needs a little puttying and painting. Unfortunately the card bent a little where the arch meets the wall, but not much I can do about that. Sorry it's so dark. It's a very dreary day here.


Also thinking I'll change the loungeroom wallpaper. What do you think? It's warmer and more old-timey, and more along the lines of what I think should be there. 


Here you can also see my carnival glass pieces and a new cabinet I purchased for here (it looks quite orange doesn't it?).

I am also thinking of changing the wallpaper in the front bedroom. These stripes are the wrong colour - imagine them in green. The alternative is the same wallpaper as currently there (Itsy Bitsy Mini) but in the green.


I really need to stop making changes to this house so I can move it out to start on other projects. To be honest, I'd like to start from scratch and make an English Edwardian townhouse in a Sid Cooke Highgate and do the Mountfield in 1940s style, but too late for that at this stage. Plus I can't afford the Highgate. Hope you are having a great weekend everyone. 

Saturday, March 4, 2017

Mountfield and French chateau progress

Well, here in Oz, another weekend is almost over. Where does it go?? I spent a good part of this afternoon scraping off the wall tiles in the old Mountfield bathroom which wasn't a huge drama, but one of those jobs I am just too lazy to bother with! In case you were wondering how I did it, I just tore off what I could of the tiles (paper with a shiny plastic coated surface), using a craft knife to get under the edges, then wiping a damp cloth over the paper residue. When it got damp enough, it just kind of rubbed off (using the cloth and finger nails). The floor tiles were another matter. They stayed where they were and I put the floor boards over the top. Problem 1: the floor boards were a different colour to the original ones in the other rooms (but I stained them all anyway, but even with the stain, the new boards are a slightly different colour); and 2) I stupidly put the floor boards running in the opposite direction to the rest of the house. Never mind. With a rug, I am not sure it is something you will notice.

This room doesn't really have a use yet. I am not much into kids' rooms but I do have a few little boys toys that I could've used here had I thought to put a boys wallpaper in there, rather than flowers. I have a little cot from my very first dollhouse, made from a kit, and it is white and blue, hence could've put that in there. So I am thinking either a child's room with the cot repainted, or a sewing/other room, similar to my music room I had at the back where the new bathroom was relocated to. (And yes the ceiling has scabby marks I need to fill and paint)


I have also been doing some work on the French chateau, mainly the salon, entry and courtyard which are all on the ground floor, and some exterior work. Here you can see the entry with stairs my husband helped build. This room will have a door on the right side, leading to the salon and I was going to have a matching door at the back leading under the stairs. My thoughts were that this would be visually very busy, as the two doors would be very close together and ornate. So I could put a niche on the stair wall (but they're not entirely my thing) or a smaller, plainer door (utilitarian). If I do a door, it could open and reveal a secret passage, or even a secret world! It's only a small space though - about 12cm wide and 10cm deep. What are your thoughts? Any crazy, whacky ideas??


Hope your weekend has been a good one. Xx

Saturday, February 18, 2017

Mountfield bathroom update

Hi all. Happy Sunday! I did get some done on this project a couple of weeks ago but have not progressed since then. You may recall I was waiting on white tiles. When they arrived, I realised I needed cream tiles. Sigh. Fortunately I had *just* enough in my leftovers (from the kitchen) to finish the borders same as the original bathroom. Some of the fittings and accessories are glued in now, and a new hole drilled for the light. Still a few things to be done as you can see. I was going to use a different top edging tile. There was one with the set that had a scalloped edge, but it had white on the negative side of the scallop. Given the patterned border tile is cream not white, I thought this was odd. And disappointing. I wasn't going to attempt to cut the white bits off the scalloped tile, so just went with the thin one instead.

It may not have been wise, but I carried the tile across the front of the bath. I think I will add a border to fill in the gap along the top egde of the bath so it doesn't look so odd. But I am tired and today I have run out of steam!

Although it is harder to fit in all the things I want to fit in, I like the bathroom here better than at front of the house.


And before I leave you be, I want to thank everyone who left a kind comment to my previous post. It is nice to have the support and words of advice, and to know that I am not alone is reassuring. It is hard to find the right words sometimes! Take care everyone!

Wednesday, January 25, 2017

Mountfield update

Hi all. Happy Australia Day for those in Oz who celebrate it. I have been trying to get a little work done. The husband is sleeping. I got about as much tiling done as I could. Now I need to wait for some plain white tiles to arrive. I will tile this room much the same as the original bathroom, but I have made the tiles 1 tile shorter. In hindsight, this may not have been a good idea as the plain wallpaper (which I will paint over) may be too short, leaving a gap between it and tiles. We will see how we go. If all else fails, I can rip out the wallpaper and replace with some longer pieces. 

Not sure about my yellow base tile. I would've used dark green but you can't get matching ones. So I thought I'd try yellow.


Sorry for the dark and dull photos. Afternoon light.

Saturday, January 21, 2017

Mountfield renovations continued

So I went ahead yesterday and stuck in walls for an enclosed shower and a little arch over the tub. Ignore the fact that the arch is very wonky. I will recut it later, after the tiles are glued in. The end wall of the shower is also not glued so I can tile inside the shower. Although now I don't think I'll have enough tiles. Anyway, I think I like it. As pointed out by Karin, there was a lack of height and focal points. I am a little worried that the shower/tub wall will overpower the left wall, but I think by the time the mirror is stuck to the wall with the shelf and other items, it will help balance it out. And Elizabeth's idea of a light in the tub enclosure is a good one too, especially as you'll get a view of it through the open doors from the front of the house (apologies to those who don't like their bathroom fixtures in full view of open doors!).


FYI I purchased the wicker laundry basket from Wicker Miniatures on Etsy: https://www.etsy.com/au/shop/WickerMiniature

Really awesome stuff! And as for the Coxwolds, I sliced through the wallpaper on the shop wall and pulled that warped wall out. My husband helped me cut and glue some thin MDF to it and we weighted it down, so now it's flat and stuck back in the shop! Fortunately, as the wallpaper has a busy stripe pattern, the (rough) cut through the paper won't be very noticable once it's properly glued back down.

Happy mini-ing! I am off to paint the real life house....

PS I think I'll be sad to see the wallpaper in this room disappear. Perhaps I will purchase some more for a future project.

Friday, January 20, 2017

Mountfield renovations

I decided finally to bite the bullet and start the Mountfield bathroom relocation. It has so far been pretty quick and painless, although whatever glue I used to stick the bathroom sink and toilet down with was dynamite to remove. I haven't removed the wallpaper in the new bathroom as most of it will have tile covering it and whatever isn't covered will just be painted or repapered.

I can't decide on layout as it is a large and sort of awkward shape. I want to build the bath into an alcove and have an enclosed shower, like this from a vintage apartment above a shop I visited a few years ago:


 So this layout would work best (shower at front right) but it makes the toilet/sink space a bit squishy:


These ones not so good:


What are your thoughts? Would like some opinions please.

No real progress on the Coxwolds as I am still waiting on an order for architrave and skirting which I placed in November....

I have made a wall cabinet for the shop, but my foamcore wall (wallpapered on the right) has warped, so I need to somehow straighten it. And that is all the wallpaper I have so can't replace the wall.


Enjoy your weekend everyone.

Saturday, August 8, 2015

Exterior of Mountfield and some redecorating

Hello again everyone. Hoping you are having a great weekend. After a cold and wet week, we are enjoying some sunshine. And subsequently getting laundry done... Sigh!

I wanted to post some photos of the exterior of my Mountfield. It's getting very close to being done, save for some more landscaping. There are still a few things left to go, like some more aging, fixing the gable trim (undecided on what it will look like, plus the laser cutter isn't working) and replacing the windows with my own leaded glass designs. You can see I gussied up the front door a bit with some wood mouldings and brass stampings. I am quite happy with it, even though I know much of it doesn't match the true age the house is supposed to be.


Also, I added some picture rail to the lounge and dining rooms, with a plain paper above it. This is something I've been thinking about for ages, as I just found it all too bland. I purchased two different coloured scrapbook papers at the local craft shop and fortunately they went well with the papers. I just glued strips of it over the wallpaper and stuck the picture rail over the join. I think I just need to recover the chairs in the lounge though.


Was really stoked I finally remembered to buy a fire whatsit guard thingo (the word escapes me right now) for the dining room - the shiny brass thing out front of the fireplace - but it is too small. I guess I'll need to order a Phoenix one same as the lounge one. The paper I added is a pale grey/stone colour.


The entry is about done. You can see a little pair of plain brown ladies shoes beside the table. They are just metal ones I painted. I think the basket needs something too, maybe some dried greenery or twigs.


In the photo below you can see the Chrysnbon Edwardian telelphone on the wall. It is hard to see, but like having things in cupboards, I think it's nice to have a few slightly hidden details that you have to hunt out.


Hope you are having a great weekend wherever you are.


Saturday, March 21, 2015

Nothing finished but some progress at least!

TDo you ever feel like you work and work and work and nothing ever gets finished? I suppose when you have lots of projects on the go at once, and then you keep changing your mind on things, then that's what happens.

So firstly some Mountfield updates. The bathroom isn't far off done. I still want a table or small cabinet for here (a wall that can't be seen in this pic) and some accessories, and contemplating trying to antique the tiles a little, but I think I am reasonably happy with it as it is.


The laundry still needs accessories, including a vintage washing machine. And I haven't quite figured out how I will age the tiles, but I definitely think they're too white.


And this is a clock kit that I made from a Cynthia Howe kit. It was super fine pieces and I actually broke a piece of the decoration, but managed to glue it back on so you can't tell. But it was crazy TINY!!!!


I am still playing with the kitchen a lot, rearranging accessories. Not sure that I am happy with it but I will keep playing!

And on Duddingwell's, I have done most of the paperclaying and started on landscaping. This is a real learning process for me. Not so much techniques, but just having the courage to start something and not worry about how it is going to look. I am trying to push my inner perfectionist aside. I keep telling her that if I don't like it, I will be able to fix it.


There is a little trough on a pile of rocks which I will fill with some water and a plant or two (and maybe fish?). I have since aged the stucco a little, painted the stones and pavers, started with bits of moss and grass and some gravel and dirt as well. I will need to get motivated to make lots of plants though. 


And lastly, some little pictures from the French shop. I have been looking over this with a critical eye of late and thinking about some little changes or additions. Here is a shot from the sewing room:


I used this soft air-dry clay on this house and it has yellowed over time. I do like aspects of it, but some parts, like the exterior, I'm not so sure about. So I am considering a few detail changes, but then I don't want to start from scratch, and I don't think this sort of clay is very changeable. Anyway, keep thinking.... Maybe some vines? Ivy? Cover up half of it with ivy would look good!

And here is a corner of the shop. Just trialling accessories for now. I do love how the red display table turned out, and my home-made boxes underneath. The thread cabinet is a Lisa Engler kit. I might've shown it previously?


Anyway, hope you enjoy your weekend. We have stunning weather, and I am itching to get back to my little houses! After the household chores of course.... Sigh....