Translate

Showing posts with label English house Mountfield. Show all posts

Saturday, June 7, 2025

Hello! Long time no see!

 Hi all. It has been a very long time between posts. I have been mini-ing a little (the odd mini basket, mini knitting, painting, painting 3d printed items) but I have made very little progress on my houses. I spent last weekend at a weekend away with my state mini enthusiasts organisation and it got me a little inspired. I painted the shelves in my doll shop so they're ready to restock. I also pulled out my Mountfield to work on the kitchen I had pulled apart.

Yesterday was a disaster. I had none of the things I needed, so ordered all the things and left it at that. Today, I opened the roof and found some of the things I needed - spare windows, skirting (painted and ready to go) and a spare sheet of wallpaper to replace a piece in the hallway that got ruined. I was so relieved and horrified at how dumb/genius I was to store it all in the roof.

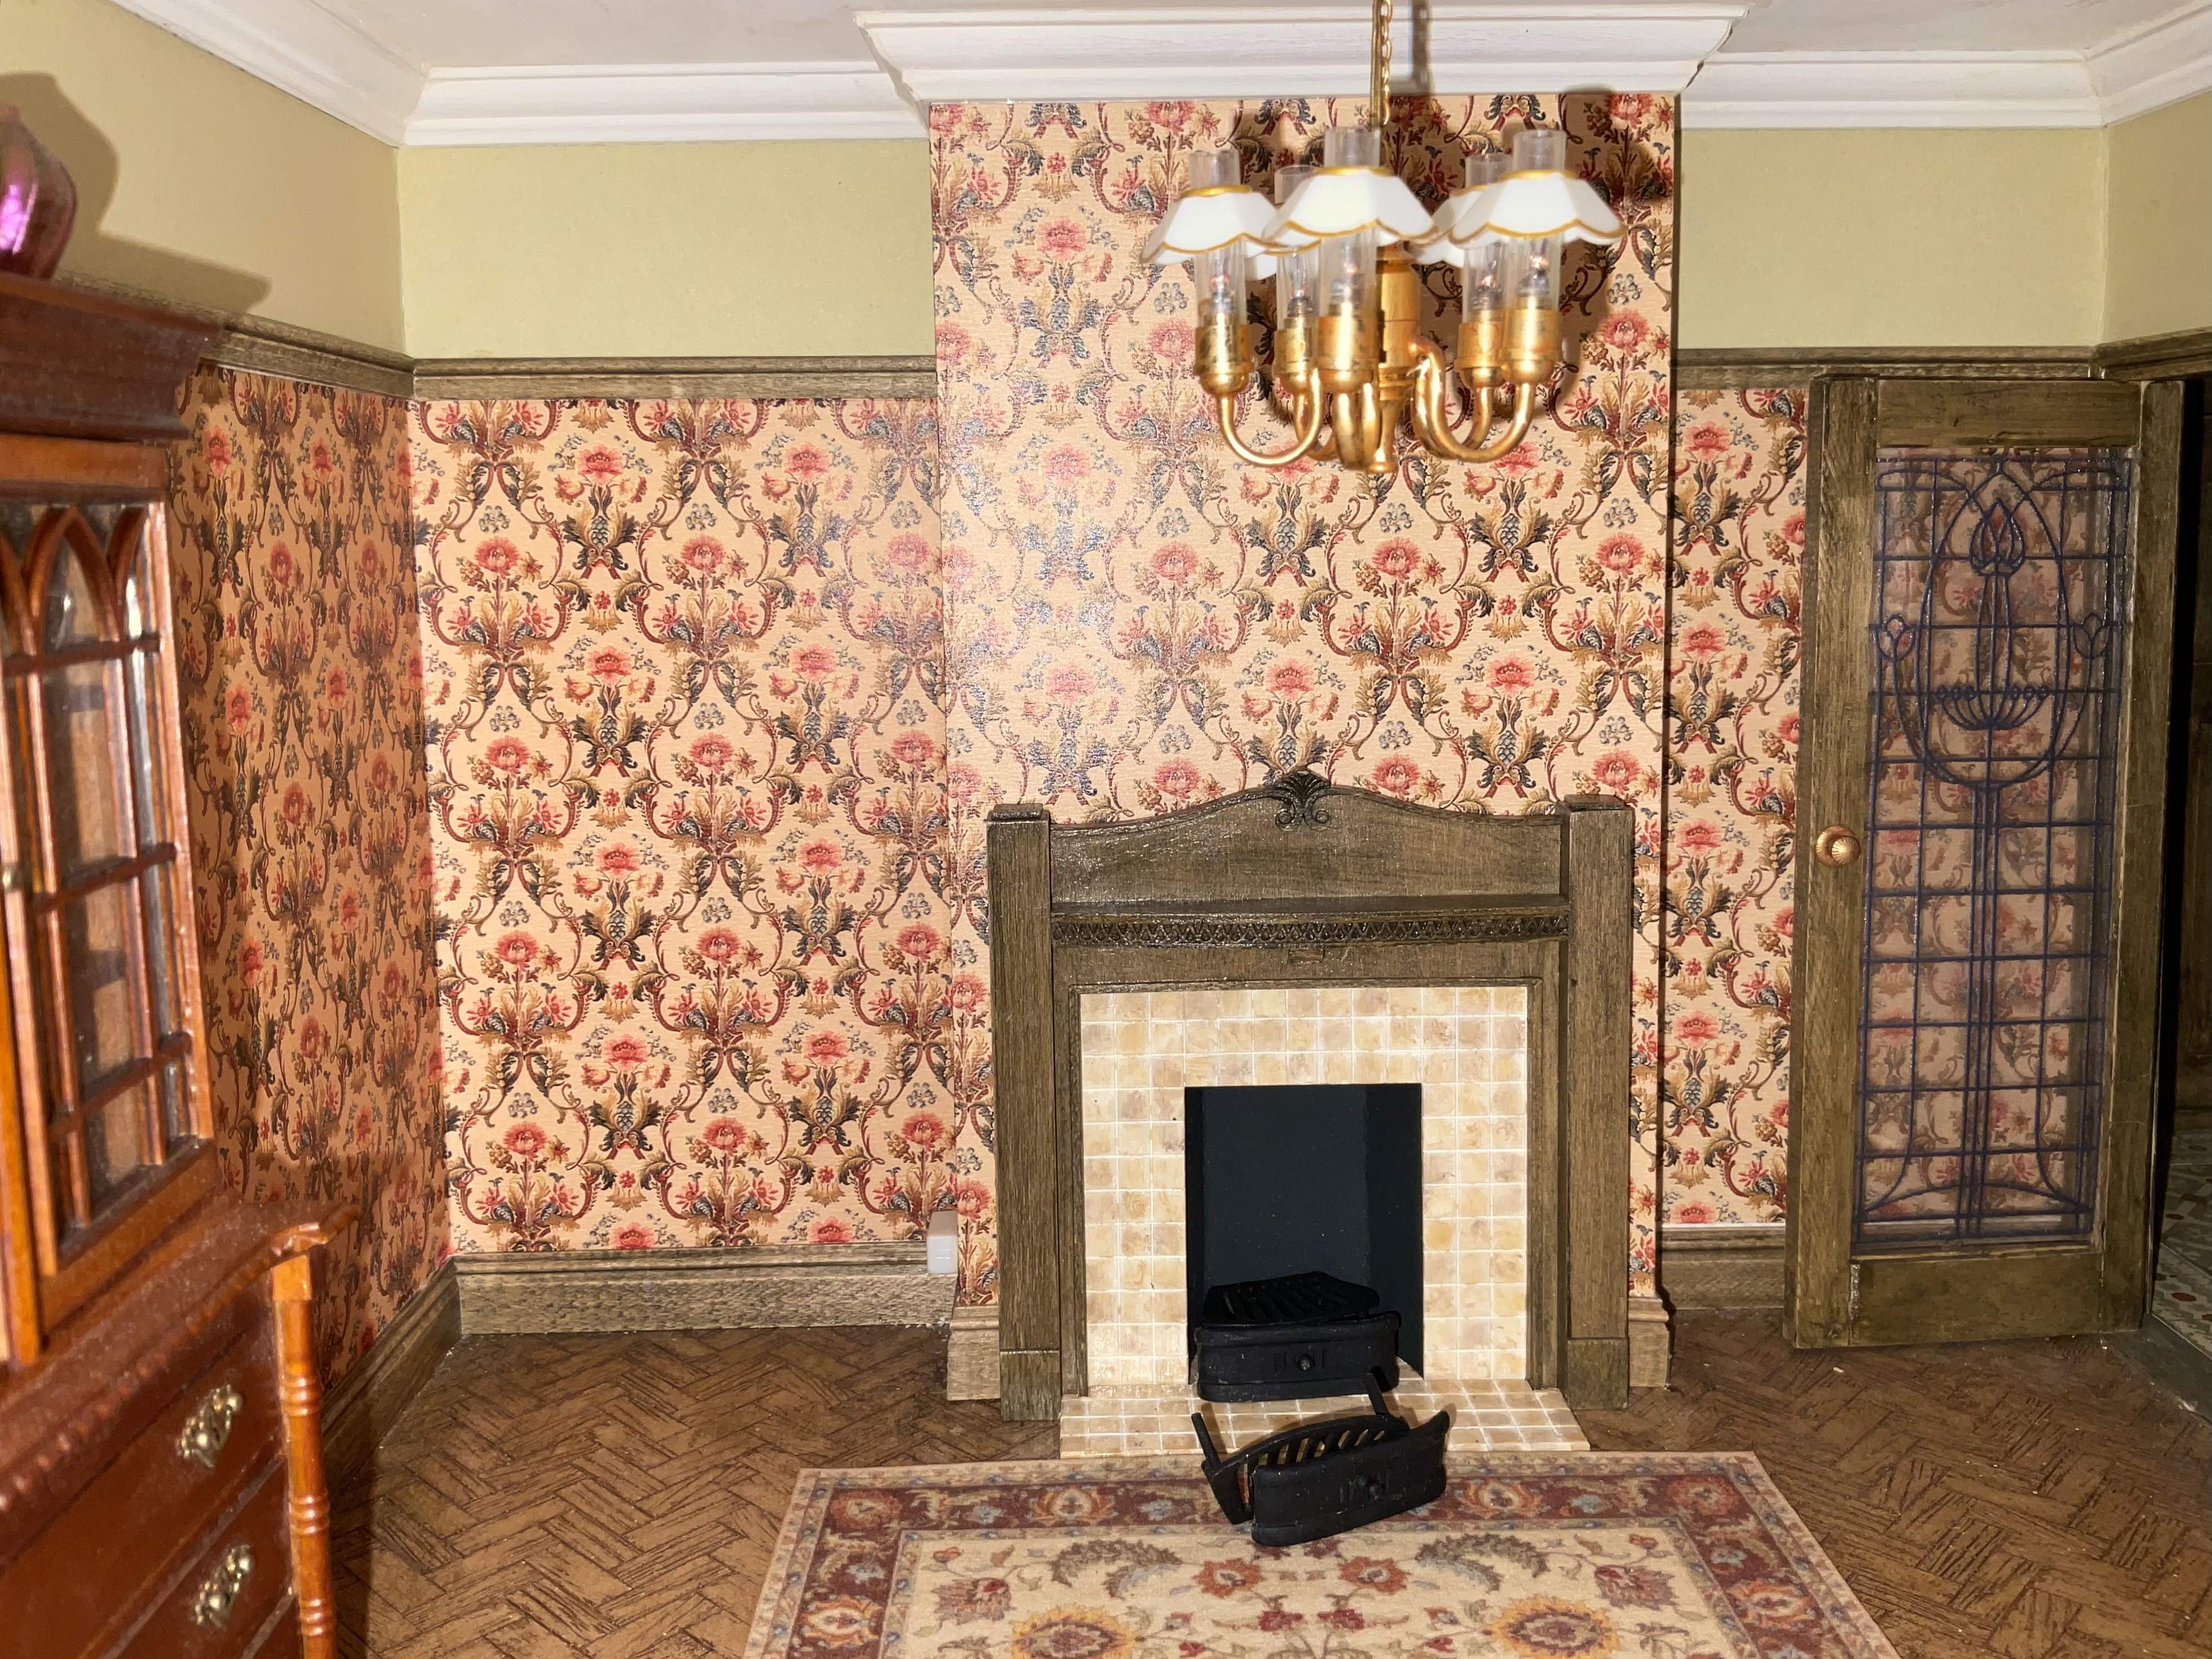
Anyway, I finished up trimming the skirting in the lounge room and dining room beside the new fireplaces I made. Now I just need to make a new back for the dining room fireplace and finish painting the fire inserts.


I had already made the pantry for the kitchen, so I glued the door I had to the pantry shelves, cut a wall piece to fill in the opening in the back wall of the kitchen, then glued both in.


In that last photo, you can see my pieces of tile sheet that will be glued in. I am leaving those off for now as I am getting my husband to help me cut a window opening on the right wall tomorrow. Also I need the floor tiles I ordered to patch into the floor first. 

I've always felt the kitchen needed a window. I also want a window in the left wall of the front bedroom. I am debating putting one in the left wall of the lounge room too, but not sure it will fit with the dresser there. I will have a think between now and tomorrow. I have an idea to put a room in the attic, and therefore a dormer window, so for now I wanted to hang onto a spare window for that (although it's likely too big for that). Maybe the window in the lounge room could be a round one. 

Thanks for reading this far! Hope you are all well. 

Tuesday, June 23, 2020

Mountfield wallpaper updates

Hello all! Wanting to just post a quick update on my Mountfield. Have I banged on before how some of this house I love and some of this house just isn't working for me?? I don't recall, but I really love The Infill's 1930s house (plus all their other stuff!!!). So I bit the bullet and repapered the front bedroom, the living room and entry/hall. At first I glued the paper on top of the existing paper and quickly decided that was too risky, so went with double sided tape. That made life much easier and would highly recommend it. I learnt a few things, and it is by no means perfect but I am OK with that. Nothing furniture won't fix. Now I need to decide on fireplaces, although I have purchased the Phoenix metal fire grate things. So, some photos for you! (FYI it appears I can't reorder my photos on the new blogger, so I apologise for the disorder....)

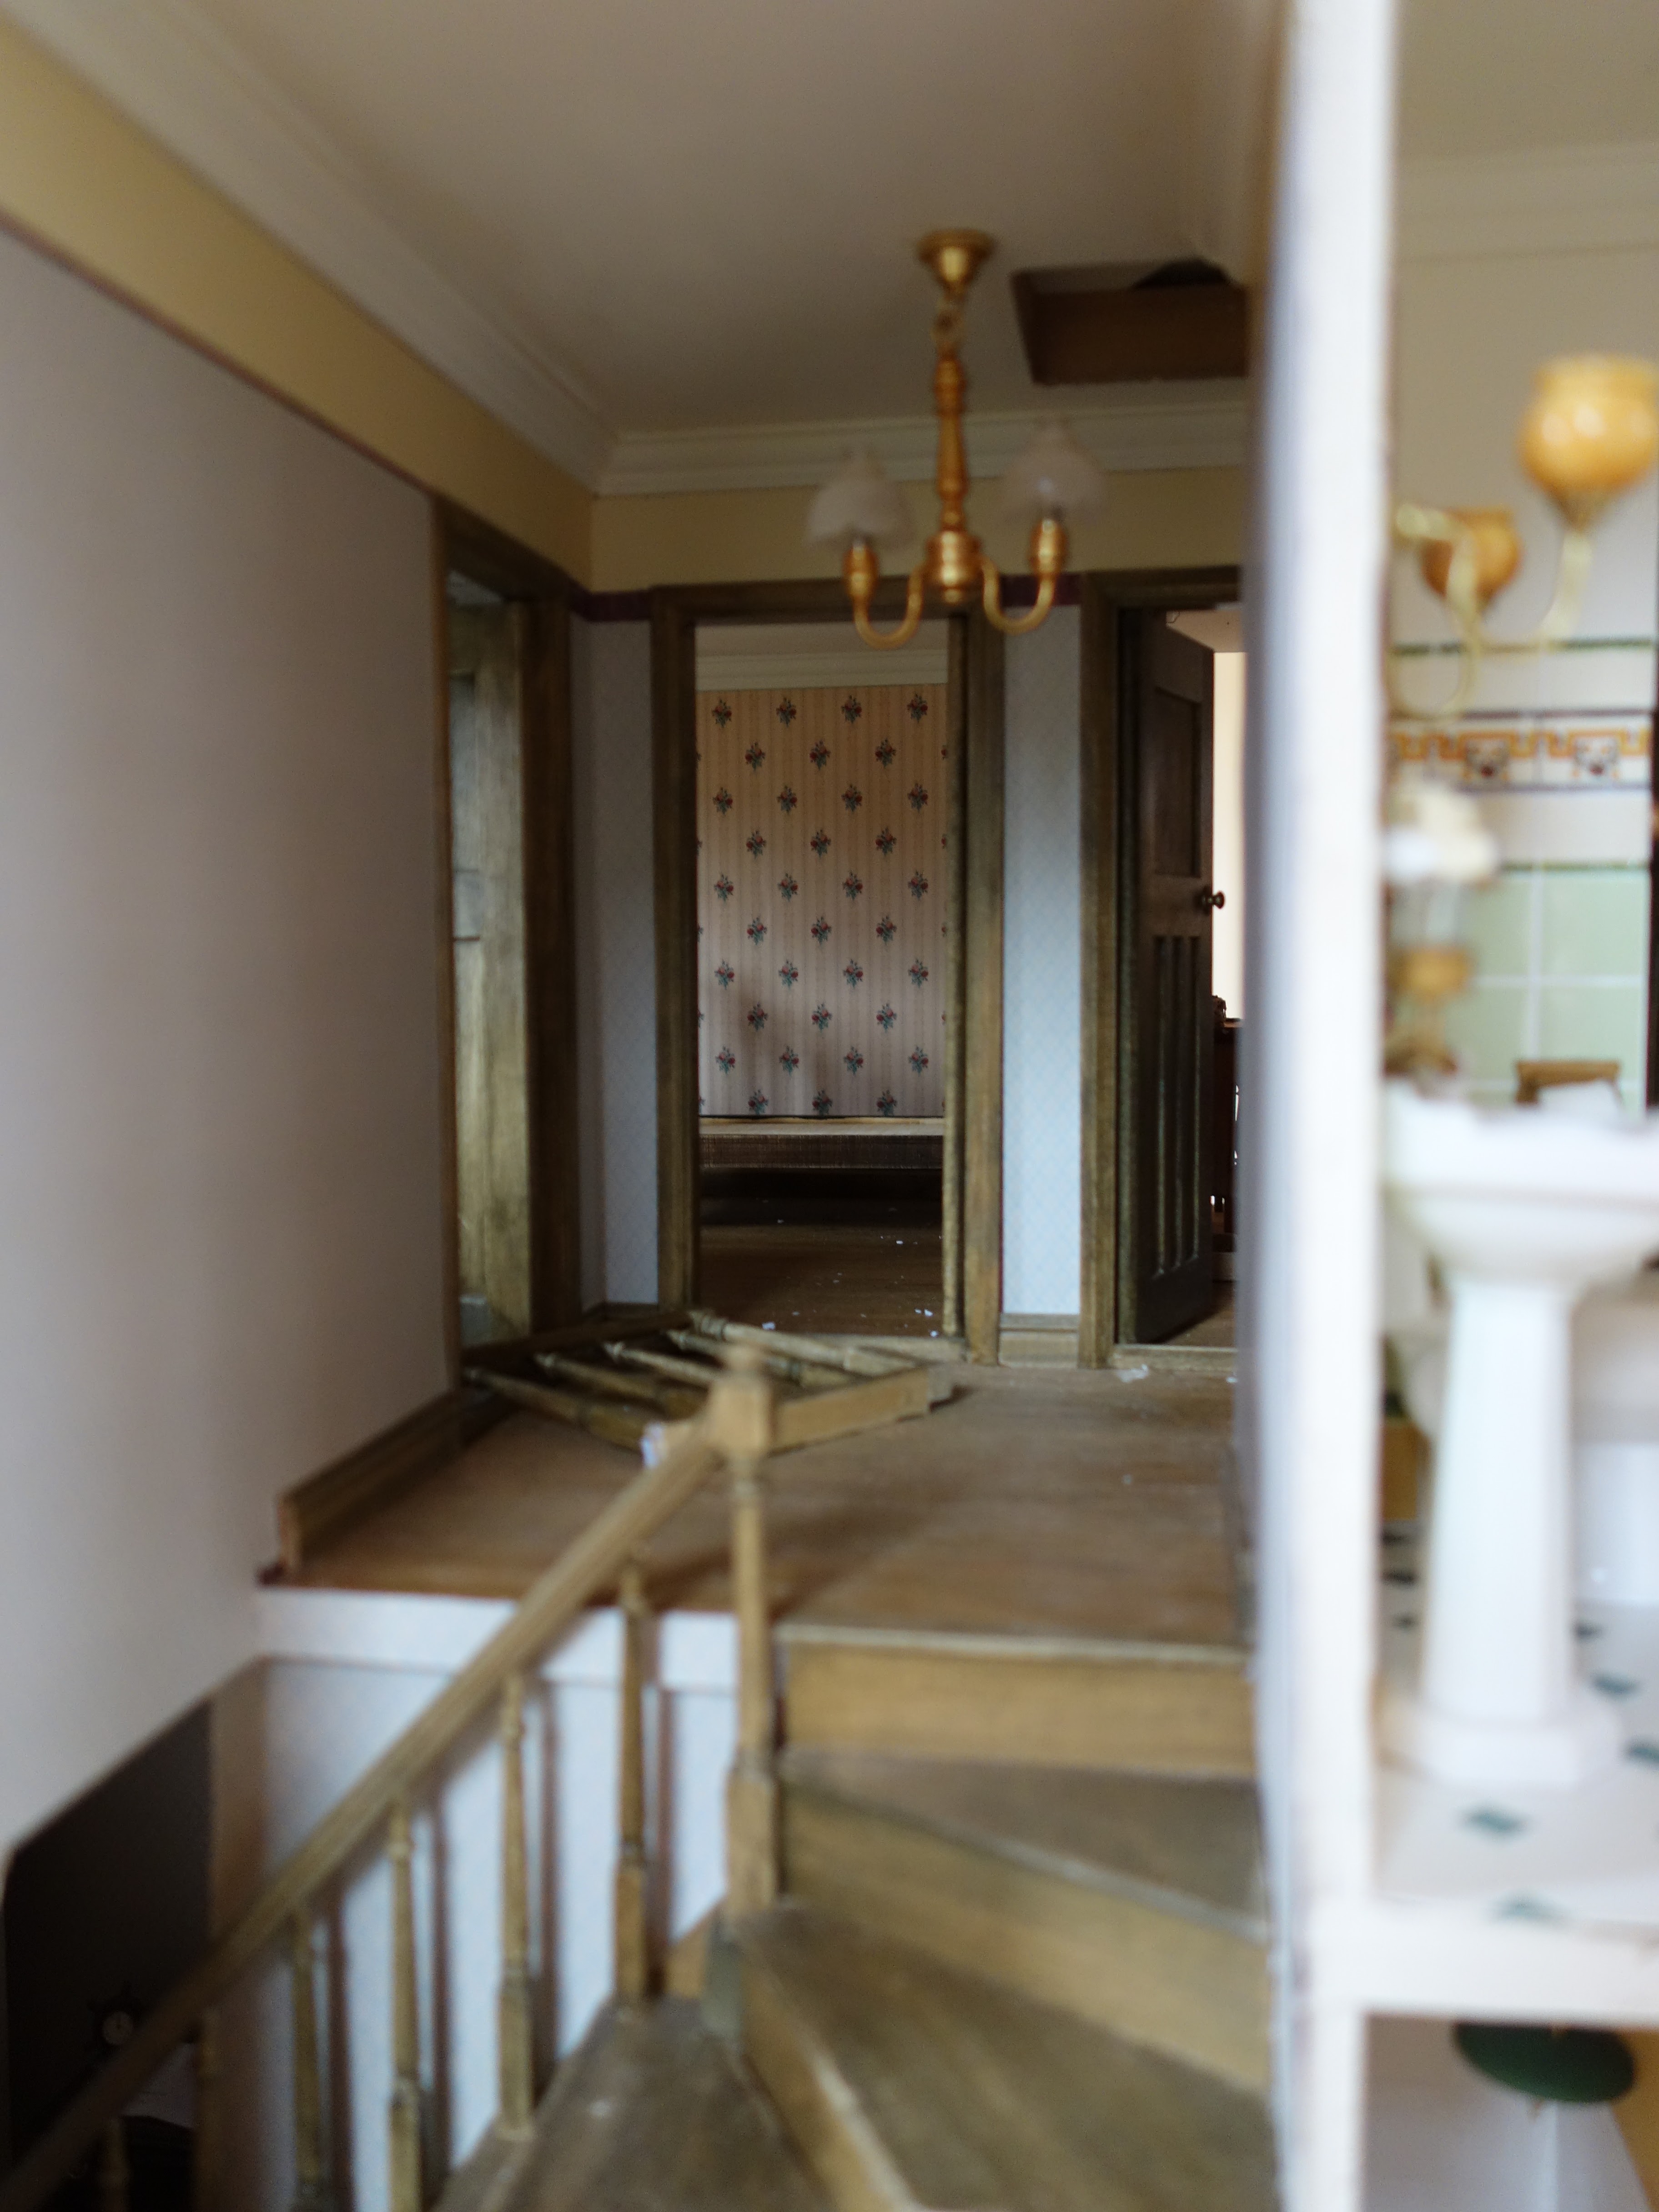
The hall upstairs:

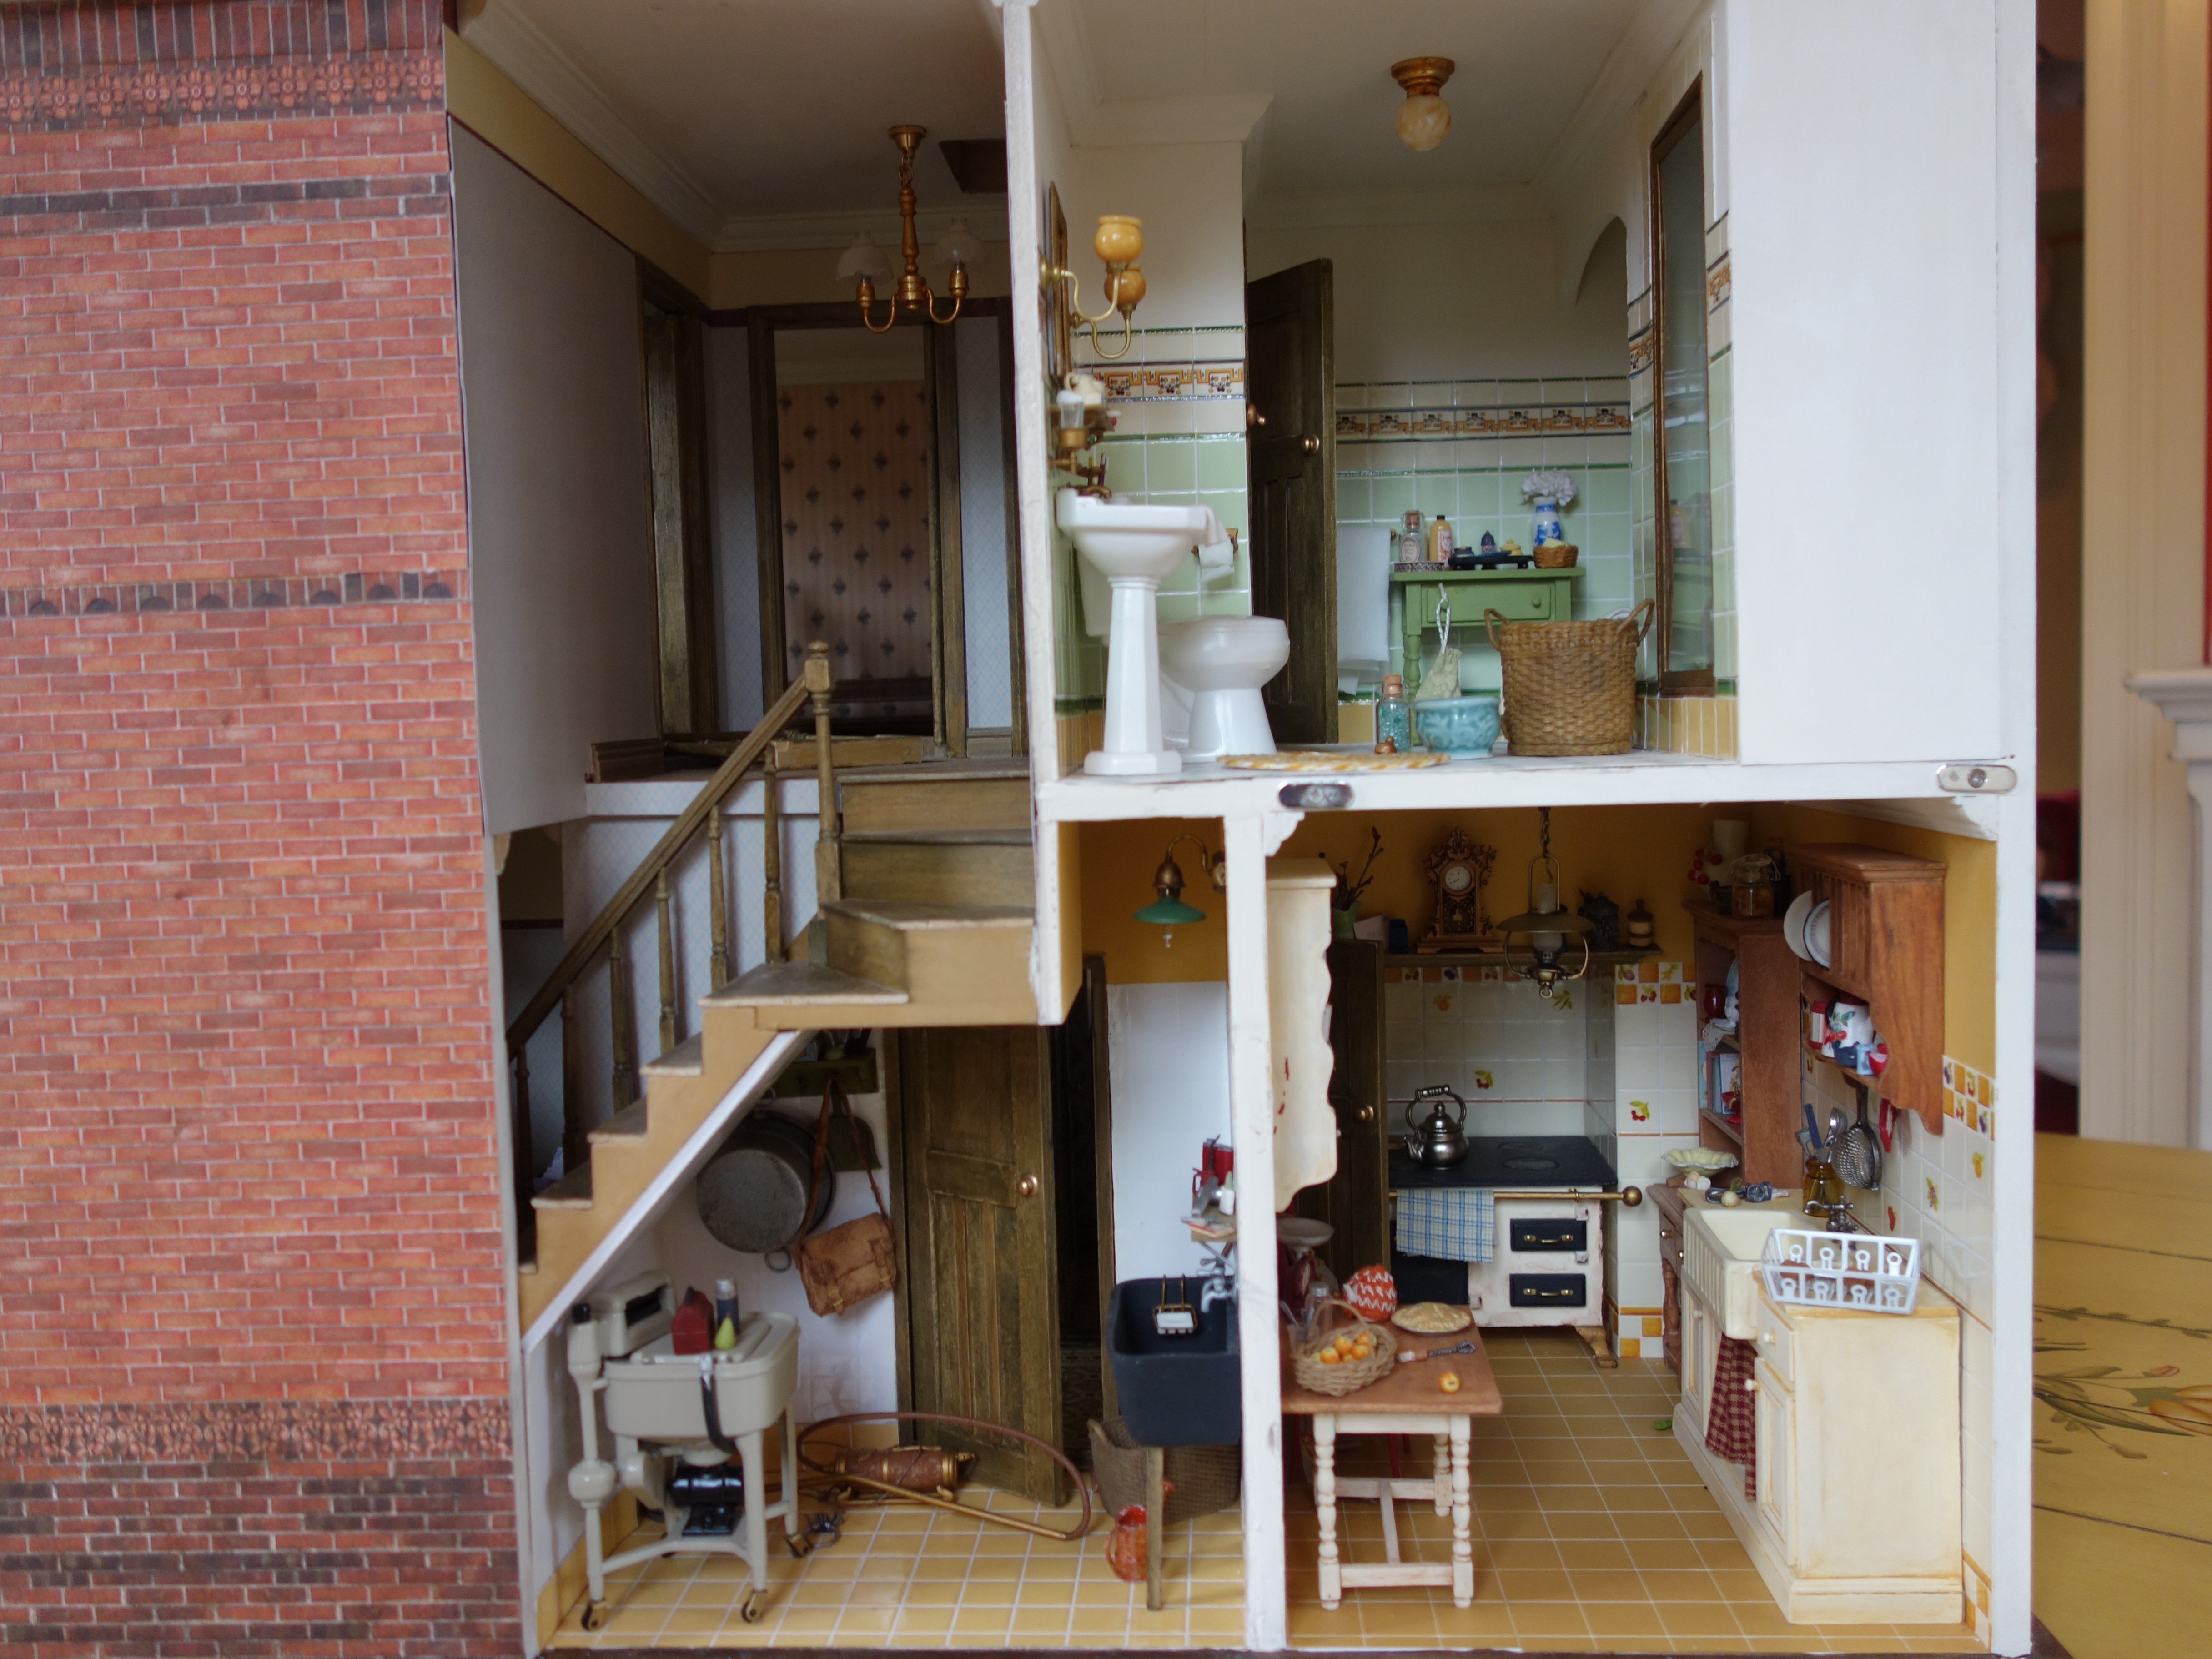
And overall view of the right side:

The front bedroom: (the colours on the nightshade no longer match...)

The living room (with the cabinet covering up a dodgy wallpaper job):

The entry (and the paper got a bit smushed up as I had to squeeze it in between the stairs and wall and I cut it too small..... sigh):

And entry again:

Which brings me to having to stain and varnish some picture rail to match the other wood. I have the stain still, but no idea what varnish I used. What could possibly go wrong??? 

But on the upside, I am pretty happy now. I LOVE the bedroom and hall, an pretty happy with the living room. And this is the original paper I chose for there. Silly me.

Anyway, take care all. I hope you are well and that those in the northern hemisphere are enjoying some sunshine. We are enjoying a tiny bit of rain although still not nearly enough. Talk soon!!

Saturday, January 10, 2015

Happy new year!

Hello all. I hope your new year has got off to a great start, although I am sending out lots of love to all those affected by the shootings in Paris in the last few days. It's an horrific event and sad for everyone across the globe.

But on a brighter note, I have made some little bits and pieces for my Mountfield, so it is slowly nearing the end point. I still can't decide on three major pieces of furniture, and until they're found, some rooms just can't be finished. There is also the matter of fincances! I have just recently gone back to full pay, so money is less of an issue, but I want to save as much as I can too (holidays, laser cutter, general spending money for when I quit work, etc). But for now, I will show you my shadow box for the front bedroom:


There are a couple of little printies and a real seashell. The remainder of the accessories I painted myself. On the bottom shelf at the front is this very cute little basket with roses in it. I can see a little paper flower garland draped over the shadow box in the near future I think.

Here it is in situ:


Sorry about the bad lighting, it's a very overcast day. 

I made the little shelf with the books and painted the cat bookend the little scotty dog: (the chair is just a fill-in for now)


I have put white tiles in the laundry, and although the tiles themselves are great, they are very white and stark. They are also very shiny and don't take paint. Now I am contemplating spray painting them with a matt varnish so that I can antique them and then respray with a gloss. Just a little worried about getting gloss paint everywhere! What are your thoughts? Has anyone else tried to antique/age gloss tiles?

I am also working on a little front garden of the Mountfield. I hope to get my butt into gear and show some exterior photos soon.

I have also tried making some dolls from Liquache. Not sure if I have reported on that in this blog yet, but here you can see some examples:


I am still playing with getting the right consistency, and as the pour holes in the moulds are so tiny, it's hard to get enough slip in to get the shell of the doll thick enough. Consequently, I have broken quite a few, or the slip hasn't poured right. But I am progressing slowly. The girl in the pink shoes now has a lace dress and arms, so will try to get her finished and photographed so you can see her. The little one is a tiny Patsy doll. These tiny dolls really are adorable.

Hope the new year brings good things for you all. And much love to all those amazing French people to remain strong.

Thursday, August 21, 2014

Yay for sunny Fridays!

Which has absolutely nothing to do with this post, other than it allowed enough light to take some photos after a good week of bad weather.

I have almost finished the main bedroom of my Mountfield. I have the ceiling light and just need to attach it, and poke the bedside lamp wires through the wall to the back. Then add some accessories. The little books on the nightstand are from Lisa Engler, whose beautiful kits I purchased recently.

The music room is about done, and I thought I had a ceiling light, but perhaps I didn't as I can't find it. Still needs a few accessories as per my standard. I painted those mulberry paper gypsophila flowers and stuck them to the top of the green urn that you can see on the table against the back wall. Really happy with how they turned out. And the chairs need cushions but can't decide on a fabric.

The kitchen has some sweet little apples from A Basket Of on Etsy. They are just so beautiful and a great price.


The entry is almost done, save for the stair bannister, which I have to cut and don't want to ruin, so I am putting that off!


You can see the leadlight door into the living room here:

I am having a few issues with the frront bedroom. I don't love the colour of the armoire and struggling with placement of pictures. I am thinking that I'll put up shelves/a shadowbox for some interest. Here is the dresser in progress, which i am quite pleased with so far. The colours are looking good. You can just see the rug on the floor, and the little square plate, which I purchased from A Lavendar Dilly's Etsy store. Very sweet and match beautifully. 


Here is a shot of the bed with a rose painting above. I made the bedcover with one of those paper linen-like napkins, which has a nice embossed pattern. I love the soft light in this photo.


I really need to put in a solid day or two tidying up a few things in this house, finishing the electrical etc. It is so close to being done (structurally anyway, with just some furniture and accessories to go in as I find them). I have done a lot to the exterior as well, and just waiting on a few supplies to finish that off too. 

On other dollhouse news, I have started the construction of my French chateau at long last. I hope to get a bit further with it's construction soon so that you can see the direction I am (finally) headed. Hope you all have a fantastic weekend. Take care!

Sunday, July 13, 2014

Melbourne Miniatures Show

This weekend I made the journey to Melbourne for the local miniatures show. I was really impressed. I unfortunately didn't make enough time to really have a good look, so next year I will make sure I have longer. There are some very talented artisits selling their minis, which included plants, food,mknitted and crocheted items, paper goods and lots more. I picked up a few things, however I plan to have some more money to spend next year! I passed up too many cute things that I would've liked to take home.

So here are the things that did come home with me:

A very sweet and tiny baby rabbit toy on the Marcee chair (I had wanted this set for some time and got it at a good price):


Next are some little resin baskets, a sugar and creamer set and a cruet set. I couldn't get the handle into the stand, so I'll have to sand out the hole first.


I had been thinking over the last couple of years about how to make mini tassels for my French chateau. These are some very beautiful ones from Versailles:


Then I saw these amazing tiny tassels made by a member of the Victorian Association of Miniature Enthusiasts, and I had to have one. This one attached to scissors, but others were for drapes or hanging off furniture.


It is TINY so my photos are not great.

And I also dug out my collection of tiny dolls, scaled to be a 1:12 child's doll. I finished these years ago, and they need some attention and finishing. They were made by Pat Boldt.


I hope you have all had a lovely weekend. I will try to get some more photos of my Mountfield up soon, so you can see the progress on that.

Sunday, June 22, 2014

It's Monday again...

And I'm not at work! It is fantastic! I have been working on some 1/2" scale house and furniture kits which I hope to be able to sell someday. I was hoping to be able to cut the prototypes with my KliknKut machine but I am really struggling to figure it out. So for now, will keeping plugging along and attempting to learn my machine when patience is abundant!

I have also been making quite a few accessories for the English house and thought I'd show you. 

Here is the piano, one of the kits I made up for my very first dollhouse. I want a really cluttered look on top of it, so will add some vases with flowers and feathers, some figurines and photo frames as well. I painted the clock, frame and candelabra, and hung a very cute vintage photo of a family in a tiny rowboat, taken in a studio with painted backdrop. It's very sweet.
 

I ordered the Houseworks resin bathroom as it looked the most like a 1920s bathroom to me.
 I don't think I like the washstand, but it needs something. What do you think of the layout? I want something interesting and realistic. I will add a shower curtain and have a go at making a shower head.


I made mini leadlight glass doors for the living and dining rooms, and am really happy with how they turned out. I drew the design in a drawing program, printed it out on heat resistent transparencies and then heat embossed with a dark grey metallic embossing powder. I intend to repeat the process for the bay windows and front door, once I've got a design drawn.

I also changed the rug in the living room. I like the warmer tones better. Still needing a sideboard or something for where the hutch is (I don't think this one suits).


And lastly is the master bedroom. I've hung some pictures, finished painting and glueing the bed ends together, and made two little silk lampshades for the candlestick lamps. I should take a closeup of those, they have little bows on them and look quite pleasing. To me anyway! Not sure about the chair in the corner. It looks OK in the photo actually, but in real life, it kind of looks too chunky.

I still need to attach the bed ends to the bed base, and not sure how to go about that. 

Well, I hope you enjoyed my update and that you have a good week ahead. We are expecting rain and cold so good weather to be indoors.

Friday, June 13, 2014

You win some, you lose some

Or maybe knowing when to quit?

Had a bit of a mixed day today but regardless got a fair bit done on the English house. It is rainy and cold and wintery so a great day to be tucked under the eaves working on minis. Except for all the hassles, breakages and defects.

I put some wall lights in the bathroom, which meant the usual - drill holes through the wall into the next room, pull wires through wall and attach light to wall. The thing is, I needed to drill through the ceiling and cornice in the next room to get the wires through into the roof space and into the channel to travel down the back to the switch thingos. So the wires of the  first light worked Ok after about 10 minutes of moving and jiggling and swearing. I had to get the wires through about 4cm of ceiling and cornice, so had to make the hole smooth and wide. When drilling the hole for the second wire, the drill bit got stuck in the ceiling and I split the cornice. Grrr. Took an intermission, some chocolate, pliers, more swearing and patience to work the drill bit out. Then got the light wires through the wall and ceiling and the wires snapped off the light with absolutely no way of being able to reattach them, so guess what? I stuck the light in anyway. Just like in real houses, 'the globe has blown'....

I wallpapered the bedroom next to the bathroom, which was initially painted, which I didn't like. I therefore had to do the wiring in the bathroom first. It is a little bubbly, but mostly Ok, nothing that won't be covered with pictures. The most annoying thing, which I never noticed when it was painted, was that the back wall appears to be two seperate pieces joined, so there is a ridge running up the middle of wall, and the wallpaper makes it really obvious. Strange. So more pictures, and a chair needed! You can see the light shade, which I handpainted with purple roses.


I actually was hoping the wallpaper was greener, but I am happy with it anyway. Or rather, at the end of my patience! Also, I've since painted the armoire a pretty apple green. And yeah, bedding not finished yet and just pinned on!

The kitchen is just about finished. It really only needs accessories now, which I am working on.


And lastly, the laundry is all tiled and painted. I need a scrap of cream paper for the ceiling and some sort of small moulding for the wall/ceiling joint. And the light is now attached to the wall! You can see on the floor my laundry trough, but it needs a little gap filler, another coat of paint and some legs. The laundry actually looks much larger than I thought it would be. I hope to fit a little old washing machine in there.


Hope you enjoyed my little update.Happy weekend everyone. I hope the weather is better where you are!

Wednesday, April 23, 2014

The English house is coming along


It has been an extremely busy three months for me, which is why I didn't get this house completed, as per my goal of finishing by Christmas! Best laid plans and all....

Still, I have finished most of the shell interior - wallls, cornice/skirting/architrave, floors, etc. I am disappointed that I didn't add any more windows. All the windows in this house are on the removable wall panels so when you take them off, there are no windows to see. I have also done a good proportion of the exterior finishing. 

I will now need to collect/make a heap of accessories. Many of the furnishings and accessories were from my very first dollhouse which I pulled apart, and were made from kits. 

Here is the entry hall, almost finished. I discovered a big bubble in the wallpaper beside the stairs above the umbrella stand which I was really disappointed about. Nevertheless, I have a painting that will cover it nicely. The white table won't stay. I will get a timber one I think.


Next is the sitting room. I am reasonably happy with how this came out. It needs a heap of accessories and pictures yet. I was wanting a leaded or etched glass panel for the door to this room (as well as the dining room) but haven't sorted that yet.

I'm not sure about the colour of the coffee table, but I think if I painted it black, it will get lost.

Next is the dining room. It is still quite plain. I almost like the sideboard at the back, but don't think it will stay. Although it does need something quite large there. I should've put a window on the left wall.

I have the very cute early 20th century teaset from Phoenix Model Developments on the table, but not sure how to paint it - white? Shiny? Silver? Ideas anyone?

Next is the kitchen. I really like this room but wanting to get it just so! I will keep playing with this one a little. Trying to find or make the perfect pieces is a bit of trial and error.


Here is a close-up of the hutch

Next, up to the bathroom. I will add a shower curtain around the bath, and need to make a shower rose..... One of those things that I have to talk myself into! Initially I wasn't sure about the green floor tiles, but now I quite like them. A rug will help tone them down. I also can't find the right piece of furniture to use as a sink/vanity. 


Next is the master bedroom, which is also quite naked. All the furniture is what I made for my first dollhouse. It is difficult wallpaper to match for fabric/colours. I do love the little fireplace.


Wow, it's all so dusty! Poor housekeeping!

Here is the little back room, the music room. I think the cabinet (which is currently only undercoated) looks too "blocky" - not sure I'll use it. I might put in my Chrysnbon sewing machine instead, but it looks very fine and tiny. Need that happy medium!


I have not posted any photos of the other bedroom as I am just not happy with the wall colour. I am considering a wallpaper option instead, but again struggling with that. Perhaps I will gather the courage to post a photo and get some ideas from people. For now, it will stay hidden!

I hope you all enjoyed your Easter break. I certainly have - I have taken this week off work which has been lovely. TTFN!

Wednesday, October 30, 2013

Need opinions please!

A quick hello to all. I am on my first day of holidays so got some minis made including this fireplace. I need opinions on colour. Yes or no? I thought the greyish colour might add a little colour, rather than go black or brown/timber, but not sure. Your thoughts?


Saturday, October 26, 2013

Found my mini mojo

Hi everyone. After being really slack this year, I found my mojo. It was largely to do with a lack of functional space in which to mini, so I helped my husband put good shelves and work desks in my sewing room and it's now much more useable.

So I opened up my Dollshouse Emporium Mountfield kit and stuck her together. It is not far off being done for the most part, just waiting on a few bits like tiles and lights. I am using a lot of the furniture and accessories from the very first dollhouse I built (and pulled apart!). I will need a heap more accessories yet, but will work on that. I aim to have her finished by Christmas so that I can put together my chateau (which is already partially cut out).

Entry modified to include a laundry under the stairs:

Lounge room not far off - just needs a door and furniture/accessories:


Dining room. Dresser won't be staying and will probably make a square or rectangle table:


Kitchen, which needs more tiles to finish the walls (I extended into the dining room to give a bit more space):


Master bedroom (flooring to be darkened):


Second bedroom (still a bit green, needs lightening):


Music room:


I haven't done anything on the laundry, upstairs hall or bathroom, so will show those when I have done something! 

Hope your weekend is going well!